http://blog.bittorrent.com/2013/05/23/how-i-created-my-own-personal-cloud-using-bittorrent-sync-owncloud-and-raspberry-pi/
Here is the basics of the setup from above. Assumes a pi with raspbian installed.
Step 2: Installing BitTorrent Sync
Make sure you have an ethernet cable plugged in to your RasPi, and fire up lxterminal (there is a shortcut on the desktop). We’ll need to download the binary for Sync. To do this, type in:
wget "http://btsync.s3-website-us-east-1.amazonaws.com/btsync_arm.tar.gz"
Then change the download directory:
cd /home/pi
extract the tar.gz:
tar -zxvf btsync_arm.tar.gz
And finally, run the program:
./btsync
Now, we want to make sure Sync will run at startup. This requires an extra step. In terminal, change your directory to the config folder:
cd ~/.config/
Create a new folder called “autostart”
mkdir autostart
Now create a new text document. You can use the leafpad program that comes pre-installed. The contents of the text document need to be as follows:
[Desktop Entry]

Type=Application

Exec=/home/pi/btsync
Save this file in the newly created ~/.config/autostart as: syncstart.desktop
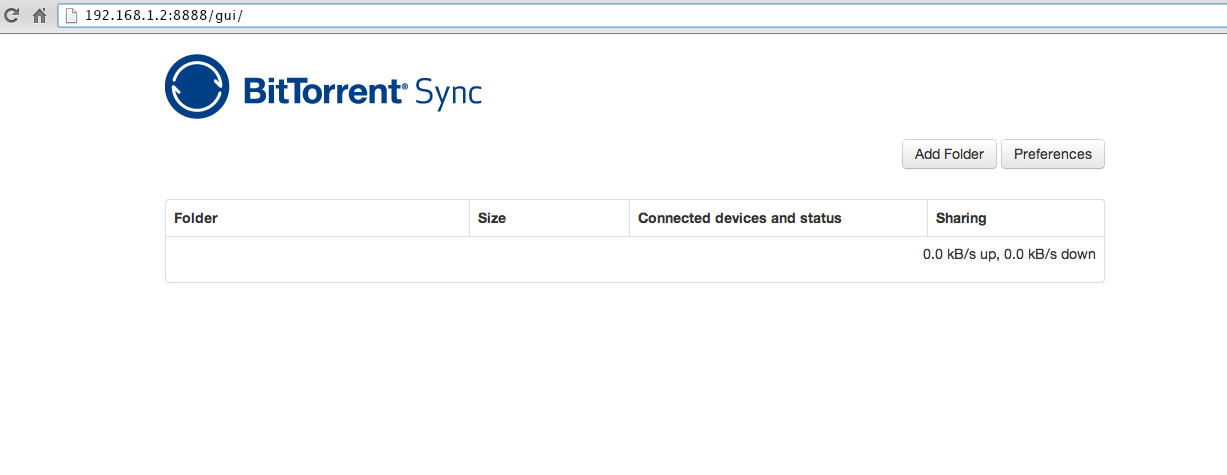
Sync is now up and running on your tiny Raspberry Pi. You can access the web GUI by opening a browser and typing in [YOUR IP ADDRESS]:8888/gui. For example: 192.168.1.2:8888/gui. You can find the IP address for your RasPi by opening terminal and typing in: ifconfig
At this point, you can stop right here. If your SD card is big enough, you can set up Sync and have your always-on Sync device….but why stop there? Lets add a thumb drive so that we can have more space.
Step 3: Adding a thumb drive
As mentioned, you have plenty of options for adding hard drive space to your Raspberry Pi. If you want to, you can plug in an external hard drive and go crazy. For this blog post however, I’m just using a micro-sd thumb drive. I love how small it is.
Plug the thumb drive in to the Raspberry Pi. (if you are short on usb ports, I would suggest setting up remote desktop). Open up terminal and type in:
df -h
Find your thumb drive. Mine was at the bottom and was called /dev/sda1. Take note of the name. You’ll need it. Format your hard drive by doing the following (replace sda1 with the name of your drive):
sudo umount /dev/sda1
sudo mkfs.ext4 /dev/sda1 -L SYNC
If you aren’t interested in Owncloud, then you can stop here and simply set up Sync to point to /media/SYNC. If you are interested in Owncloud, then keep reading.
step 4: Setting up Owncloud
Setting up Owncloud on linux is a mess of various terminal commands. Thankfully, Github user Petrockblog has made it very simple. He created a shell script for installing and updating Owncloud. Simply do the following:
Install Github:
sudo apt-get update
sudo apt-get install -y git dialog
Download the latest setup script:
cd
git clone git://github.com/petrockblog/OwncloudPie.git
And execute the script:
cd OwncloudPie
chmod +x owncloudpie_setup.sh
sudo ./owncloudpie_setup.sh
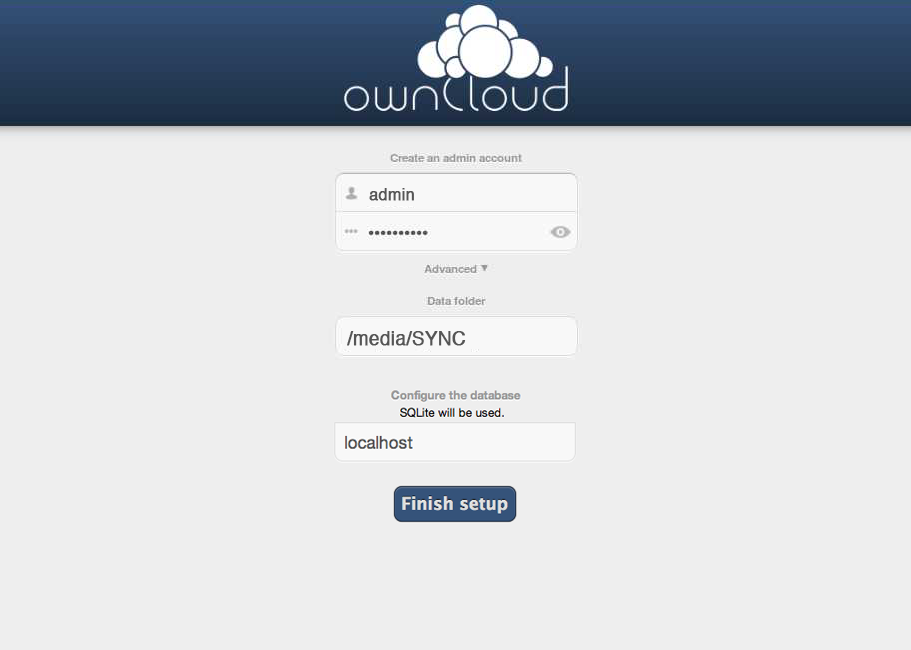
…and wait. This will take a while. Grab a coffee. Watch this video. When it is done, you can navigate to [Your IP Address]/owncloud to set everything up. It is very important that you click on “advanced” and set your data folder to /media/SYNC before finishing setup.
Step 5: Combining BitTorrent Sync and Owncloud
First we need to clear up a few file permissions. Add sync to the www-data group:
sudo usermod -a -G www-data sync
Allow sync to write to the thumb drive:
sudo chmod -R 770 /media/SYNC
Now open up the BitTorrent Sync WebUI (YourIpAddress:8888/gui) and add a folder. You’ll want to add: /media/SYNC/USERNAME/files where “username” is the name you selected when setting up Owncloud. Generate a key and you are done. You can now use that key to set up a folder on any computer you want. Any files added to that folder will be synced to your RasPi and be available through the Owncloud web interface. While this is pretty cool, there’s just one more little step to make this much more useful.
Step 6: Set up Owncloud to be accessed from anywhere (including mobile phones)
To access our files from anywhere, we’ll need to first set up a static IP address. If you used the wifi dongle I recommended, you can simply plug it in and it will work. Open terminal and type in:
sudo nano /etc/network/interfaces
You’ll need to make a few changes in order to get a static IP address. Below is what I ended up using after a bit of trial and error. Your address, gateway, net mask, SSID, and PSK will need to be changed according to your network. The settings may be different if you used a different wireless adaptor, or if you are only using an ethernet cable.
auto lo
iface lo inet loopback

iface eth0 inet static
        address 192.168.1.20
        gateway 192.168.1.1
        netmask 255.255.255.0

auto wlan0
#allow-hotplug wlan0
iface wlan0 inet static
        address 192.168.1.22
        gateway 192.168.1.1
        netmask 255.255.255.0
        wpa-ssid "YOUR SSID"
        wpa-psk "YOUR PSK"
#wpa-roam /etc/wpa_supplicant/wpa_supplicant.conf
iface default inet dhcp
Finally, you’ll need to forward a port so that owncloud can be accessed from outside networks. I just forwarded port 80 for the IP address of my RasPi. In this example, my IP address when using wifi is 192.168.1.22. The procedure for forwarding ports is different for every router. If I grab my real IP address from a site such as this one, I can now access Owncloud and my Sync files from anywhere by going to [MyRealIpAddress]/owncloud (where the IP address is what you find from the website I linked to). You can also set up Owncloud with an Android or iOS client for mobile access.

No comments:
Post a Comment